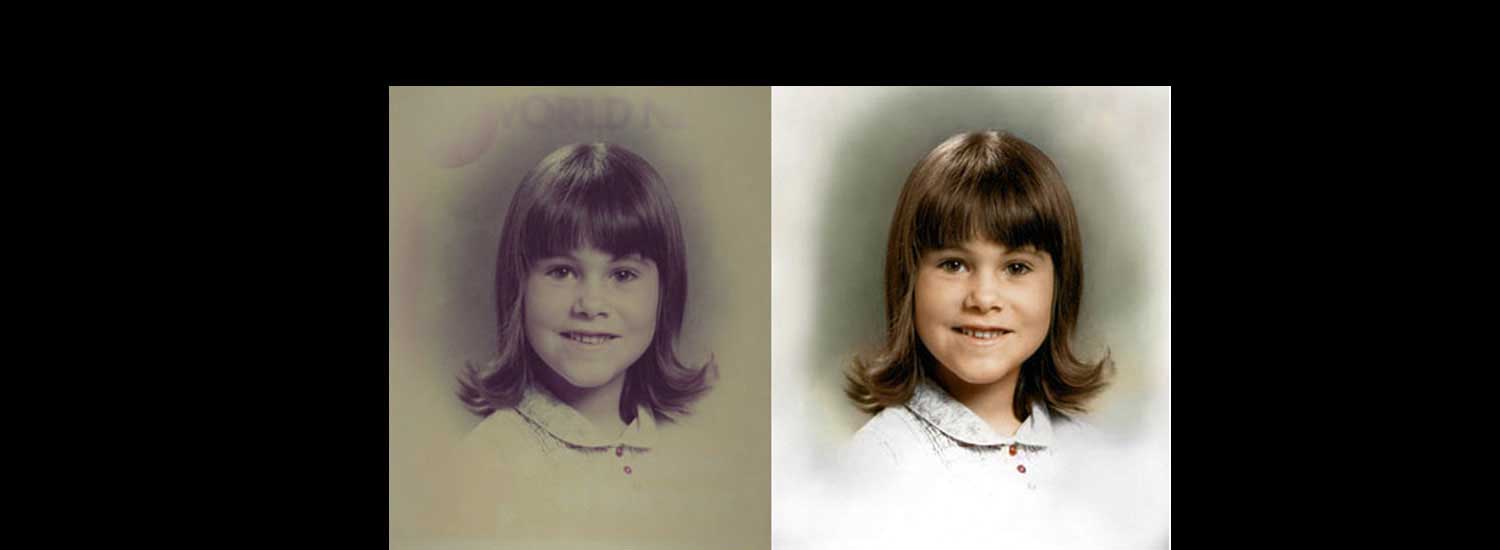
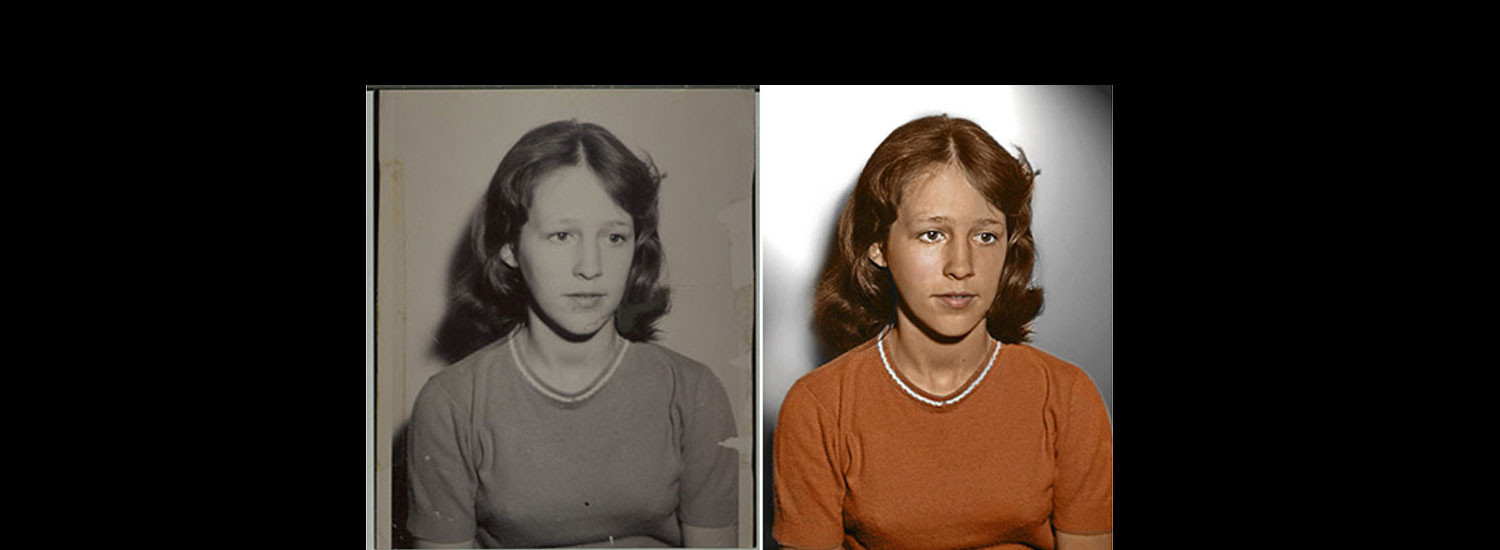
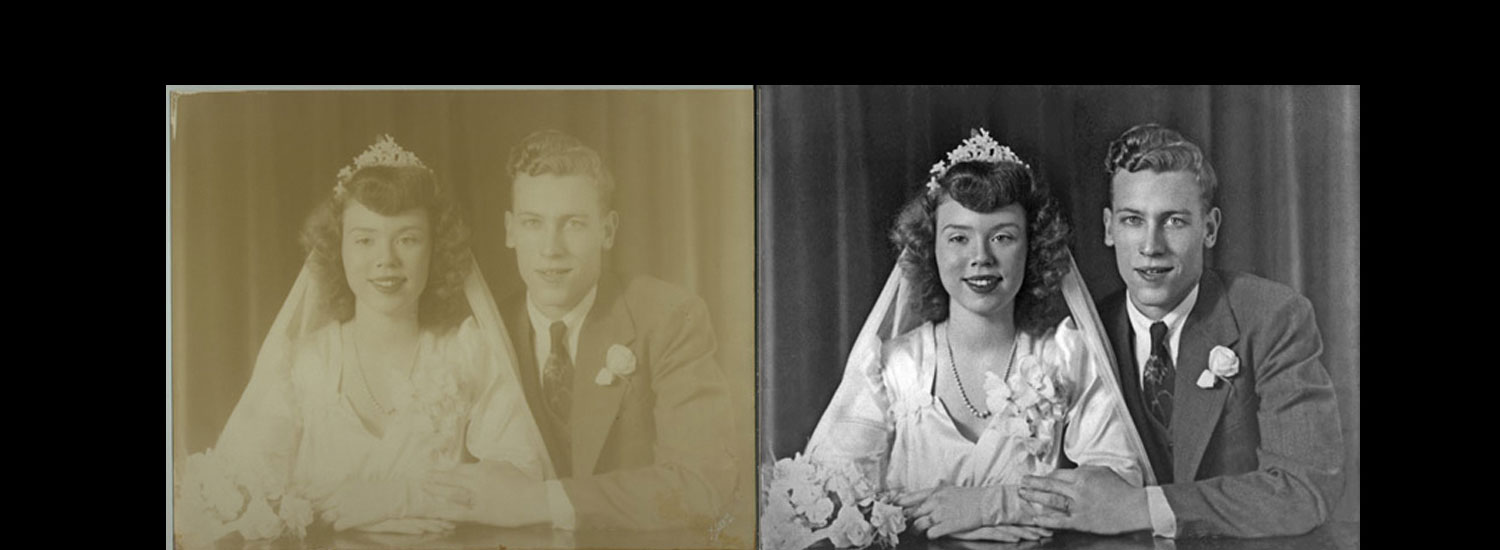
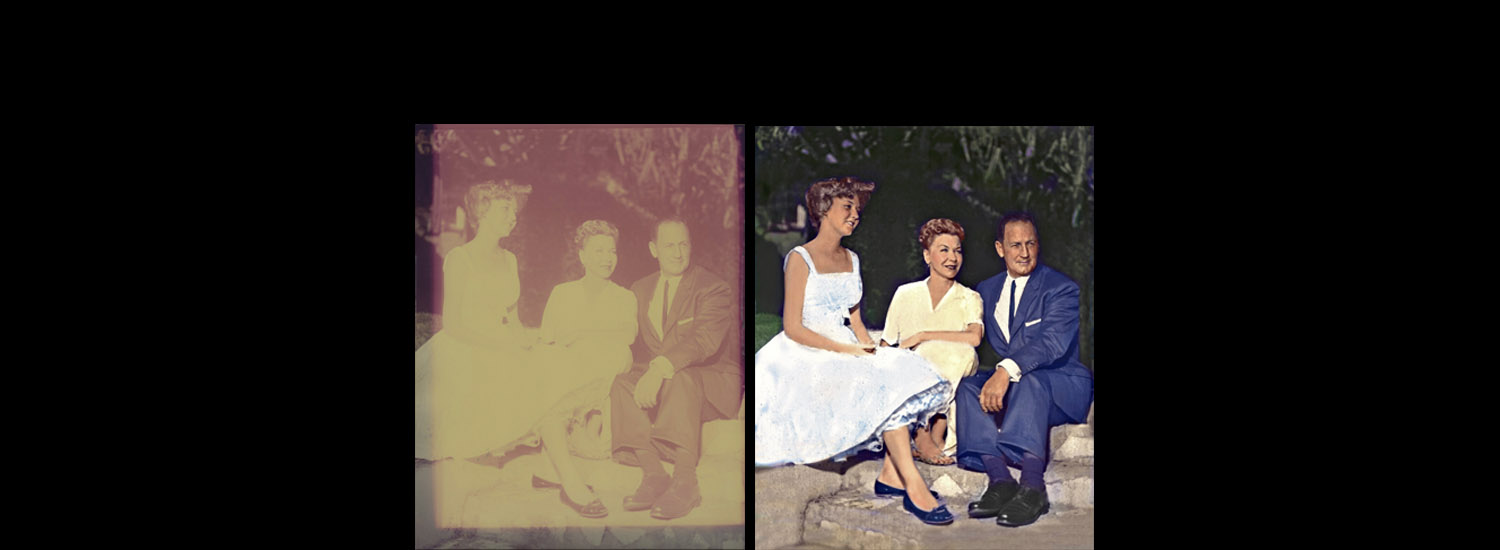
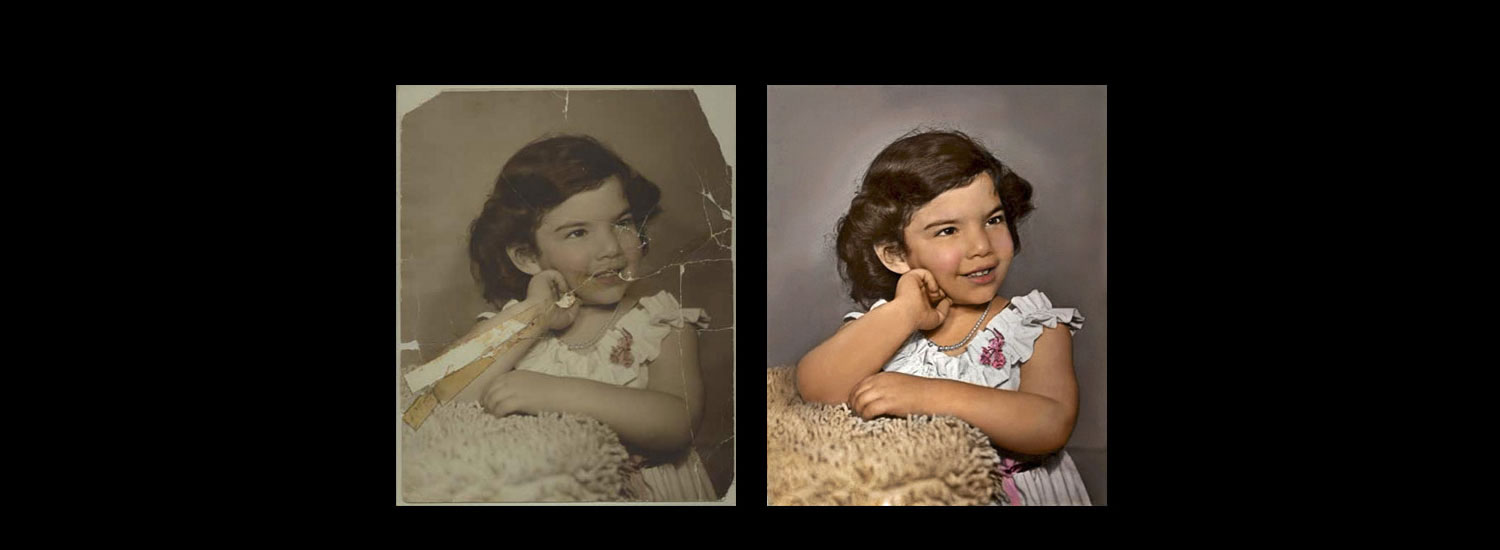
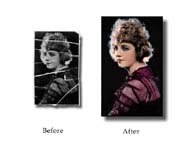
Steps to restore old photos:
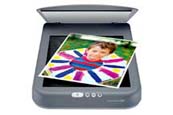
1. Scanning your old photo.
The first step is to scan the photo to get a digital scanned copy. You could use a regular photo scanner, take
a picture using your digital camera, or install a scanner application on your smartphone.
Whichever technique you use, make sure that it will capture a large, high-resolution scan of
the photo to make it easier to restore.
2. Open your photo in Photoshop.
Next, open your photo in Photoshop. Then create a 2nd reproduction of the image. You�ll need to
maintain an original copy for reference, so you�ll be working on changing the second copy.
How to create a duplicate reproduction of an picture in Photoshop:
Click on Layer in the taskbar.
Click on Duplicate Layer.
Rename the second layer (that will help you differentiate among the two copies) double-click at the name of the layer.
Crop, straighten, or rotate your photo.
Before you may begin making any modifications, ensure that you�re scanning with a clean, well orientated photograph.
How to crop your image:
1.Click the Rectangular marquee tool from the Tool Panel.
2.Drag a rectangular area on the image Selection Tools in Adobe Photoshop.
3.Choose Crop from the Image menu.
If the scan of your old photo is crooked, you may straighten it out using the crop tool.
How to straighten a crooked image:
- Choose the Ruler tool .
- Drag along a feature in the photo that you want to adjust horizontally or vertically.
- On the Options bar, click Straighten.
How to rotate your image:
- Click on Image in the taskbar.
- Choose your preferred rotation.
How to use the Patch Tool:
- Click and hold the Healing Brush tool to select the Patch tool.
- Create a marquee around the source you want to use as the patch.
- Drag the selected source area to the photo area to be repaired.
How do I use the Patch Tool:
- You can use it to restore damage areas, such as a tear or a area of the skin, just follow these steps:
- Click and hold the Healing Brush tool to select the Patch tool; on the Options bar, select the Destination button.
- You can use the patch tool either on the source area or the it's destination.
How to Use the Patch Tool in Photoshop
- Select the Patch tool and draw an area around your selection. It works in a similar way to the Lasso selection.
- Move the cursor over the selected area and drag it to the left, right, or in any direction.
- Choose whether you choose Source or Destination mode in the Options Bar. You will see a preview of the image as you drag it.
- When you release the mouse or stylus, Photoshop does the magic of blending the pixels from the source or
the destination area, to merge the pixels with the original selection seamlessly. Deselect by hitting Cmd+D on a Mac. Ctrl+D on a PC.
Using the Patch Tool with Photoshop:
- Select the Patch tool from the Tools palette and drag over the area that you want to fix.
- On the Tool Options bar, select the Source option button.
- Drag the selection marquee to an area of the image for the area that you�re trying to fix.
- Release the mouse button. The original area will be replaced with the area you choose, now
the new area will be blended with the photo.